A refrigerator door gasket may look like a simple rubber seal, but in commercial refrigeration, it plays a critical role in system performance, food safety, and energy efficiency. In many service calls, what appears to be a compressor or temperature issue often traces back to a failing door gasket that was ignored for too long.
For restaurants, grocery stores, convenience stores, and beverage operations, a damaged or improperly installed door gasket can quietly increase operating costs, strain refrigeration components, and compromise product integrity. This guide explains how to properly identify, fix, or replace a refrigerator door gasket using a professional, field-tested approach, with a focus on commercial refrigeration equipment, not household appliances.
What Is a Refrigerator Door Gasket?
A refrigerator door gasket is a flexible sealing component mounted around the perimeter of a refrigerator or freezer door. Its primary function is to create an airtight seal between the door and the cabinet, preventing warm ambient air from entering the refrigerated space.
In commercial refrigeration, this seal is under constant stress. Doors are opened hundreds of times per day, often in humid environments, and frequently subjected to product impact, chemical cleaners, and temperature extremes. Over time, even high-quality gaskets degrade.
When a gasket fails, cold air escapes and warm air enters. This triggers longer compressor run times, higher energy consumption, and uneven internal temperatures. In walk-in coolers and reach-in refrigerators, gasket failure is one of the most common causes of icing around door frames and evaporator overload.
Beyond energy loss, gasket failure directly affects food safety. Temperature fluctuations caused by air infiltration can push products into unsafe temperature zones without triggering alarms. For regulated environments, this can result in health code violations and inventory loss.
From a system perspective, a bad gasket forces the refrigeration system to compensate continuously. Compressors cycle more frequently, fans work harder, and defrost cycles increase. Over time, this accelerates wear on major components and shortens equipment lifespan.
Common Signs of a Failing Refrigerator Door Gasket
Door gasket issues rarely appear suddenly. In most cases, there are clear warning signs long before complete failure occurs.
One of the earliest indicators is condensation around the door frame. Moisture buildup suggests warm air infiltration, especially in humid environments. If left unaddressed, this moisture can freeze, creating ice buildup along the gasket channel.
Another common sign is visible gaps or deformation in the gasket. Warping, cracking, or flattening prevents the gasket from seating properly against the cabinet surface. In commercial units, gaskets often lose elasticity due to frequent cleaning with harsh chemicals.
Frost accumulation inside the unit, particularly near the door, is another red flag. This typically indicates continuous air exchange between the refrigerated space and the surrounding environment.
Operational symptoms also include inconsistent internal temperatures, increased compressor run time, and higher utility bills. Many operators notice these issues before identifying the gasket as the root cause.
Finally, a simple physical test often reveals gasket failure. If the door does not close smoothly or requires excessive force to seal, the gasket may be misaligned, damaged, or improperly seated.
Tools and Safety Precautions Before Fixing a Door Gasket
Before attempting any gasket repair or replacement, proper preparation is essential. While door gasket work is considered a minor service task, mistakes can create larger issues if handled incorrectly.
First, always disconnect power to the unit. Even though gasket replacement does not involve electrical components directly, door switches, internal fans, and heaters can activate unexpectedly during servicing.
Identify the correct gasket type and size before removal. Commercial refrigerator gaskets are manufacturer- and model-specific. Attempting to stretch or modify an incorrect gasket will result in poor sealing and premature failure.
Common tools required include a flathead screwdriver or nut driver, mild detergent, clean cloths, and in some cases, a heat source such as warm water. Avoid using heat guns unless specified by the manufacturer, as excessive heat can permanently deform gasket material.
Safety also includes understanding the door construction. Many commercial doors have removable inner panels that retain the gasket. Improper removal can damage door liners or compromise insulation integrity.
Taking the time to prepare properly reduces installation errors and ensures long-term performance.
Step-by-Step: How to Fix or Replace a Refrigerator Door Gasket
The process for fixing or replacing a refrigerator door gasket depends on whether the gasket is simply misaligned or fully degraded.
Begin by inspecting the gasket channel. Dirt, grease, and debris often prevent proper seating. Cleaning the channel thoroughly with a mild detergent and warm water can restore sealing performance in minor cases.
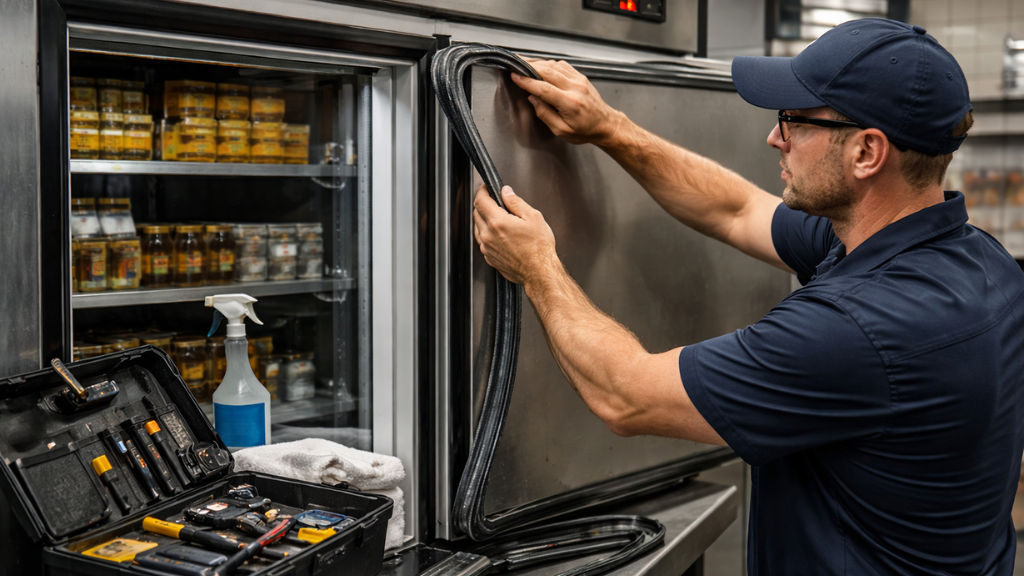
If replacement is required, carefully remove the existing gasket. Most commercial gaskets are press-fit or secured behind a retainer. Work slowly to avoid damaging the mounting channel.
Once removed, clean the mounting surface completely. Any residue left behind will interfere with the new gasket’s ability to seat evenly.
Before installation, allow the new gasket to reach room temperature. Cold gaskets are stiff and difficult to install properly. Some technicians soak the gasket in warm water to improve flexibility.
Install the gasket starting from the corners, ensuring it sits evenly within the channel. Avoid stretching the material, as this can cause shrinkage over time and create gaps.
After installation, close the door and inspect alignment. The door should close smoothly without resistance, and the gasket should make uniform contact around the perimeter.
Finally, restore power and monitor the unit. Check for proper temperature recovery and confirm that condensation and air leaks are no longer present.
Common Mistakes When Fixing Refrigerator Door Gaskets
One of the most frequent mistakes is using the wrong gasket size. Even slight dimensional differences can prevent proper sealing, especially in high-use commercial environments.
Another common error is failing to clean the mounting surface. Installing a new gasket over dirt or residue leads to uneven contact and early failure.
Improper handling during installation is also an issue. Stretching the gasket to force it into place may appear to work initially but will cause shrinkage and separation once the material contracts.
Neglecting door alignment is another critical oversight. In many cases, gasket issues are compounded by sagging doors or worn hinges. Replacing the gasket without addressing alignment problems results in repeated failures.
Finally, temporary fixes such as tape, sealant, or adhesive patches should be avoided. These solutions compromise sanitation, damage door surfaces, and often lead to more expensive repairs later.
When to Repair vs When to Call a Professional Technician
While some gasket issues can be resolved with basic maintenance, others require professional intervention.
Minor deformation, dirt buildup, or partial detachment can often be corrected by cleaning, reseating, or replacing the gasket. These tasks are typically manageable for trained staff or maintenance personnel.
However, if the door fails to seal after gasket replacement, the problem may lie with door alignment, hinge wear, or cabinet deformation. These issues require specialized tools and experience to correct properly.
Walk-in coolers and heavy commercial units present additional complexity. Large doors, heated gaskets, and multi-panel systems demand professional handling to avoid structural or electrical damage.
If a refrigerator continues to struggle with temperature stability or icing after gasket service, a licensed refrigeration technician should evaluate the system. Persistent issues may indicate airflow imbalance, evaporator problems, or control failures unrelated to the gasket itself.
Knowing when to escalate prevents unnecessary downtime and protects critical refrigeration assets.